The observatory construction was completed over several months and benefited from the architectural design and planning. Some of the construction highlights are discussed below.
Foundation and Pier
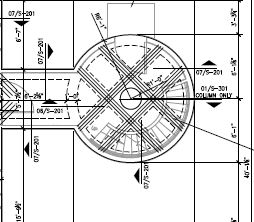
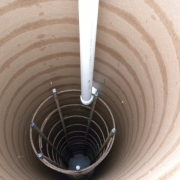
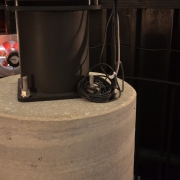
The observatory foundation and pier construction were the first major task. The ground was prepared and the foundation was roughed out. In the observatory design, the cabin and observatory structures are attached so that the observatory can be operated from within a control room in the cabin. With attached structures, the design required isolation between the pier and the rest of the foundation. Therefore, the base of the observatory pier was dug and poured first. Next, the rest of the foundation was poured, but the pier base was isolated from the foundation. Instead of a large block of concrete for the pier base, the pier was engineered to extend ten feet below grade to anchor into the granite rock below. Engineered this way, there would be less chance of any sway in a pier of this height. The pier extends approximately fourteen feet above ground level.
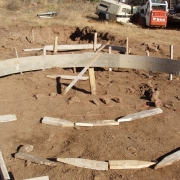
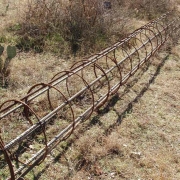
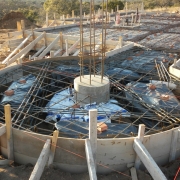
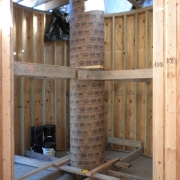
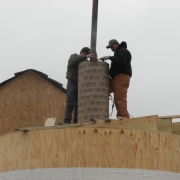
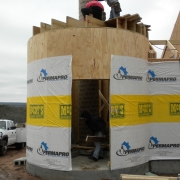
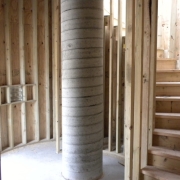
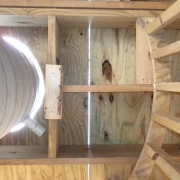
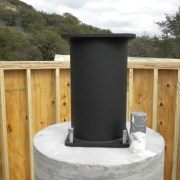
After the pier base and foundation were poured, the building and framing construction began. Once the rough framing was completed, it was time to finish pouring the section of the pier that extends above ground level. A long section of engineered rebar was attached to the rebar that was left extending from the pier when the base was originally poured. Next, a sonotube was installed to form the casing for the concrete pour.
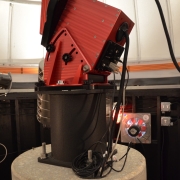
The pier was poured in two steps so that the pour for the tall section above grade could be done after the rough framing was finished. The rough framing was used to provide a support structure to anchor the pier while it was poured and thereafter while it cured. Before the pier was poured, PVC conduit was inserted inside the pier exiting at the top of the pier and elbowing out from the side of the pier beneath the second floor. The conduit is used for power and signal lines from control computers that run under the flooring through the pier and out the top of the pier to reach the mount, telescope and cameras. This way, there are no cables hanging off the pier to snag on anything.
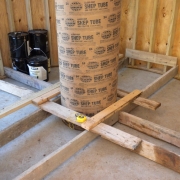
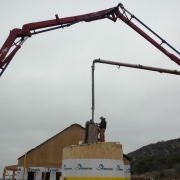
While pouring the pier, anchor bolts for the telescope mount were bolted to a wooden template and inserted into the wet concrete at the top of the pier. The anchor bolts are 18 inch J bolts made from stainless steel. The template was leveled and oriented toward true North which was determined using the shadow method. The pier was poured using a concrete pumper truck and a concrete vibrator to remove any air pockets in the pier column. The pier cured for thirty days before the sonotube was removed. Approximately 12,000 lbs. of concrete was used in the pier.
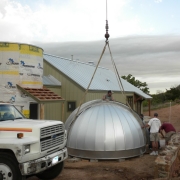
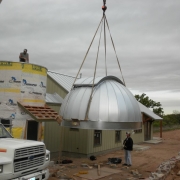
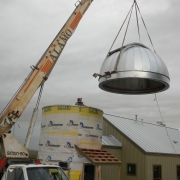
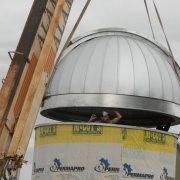
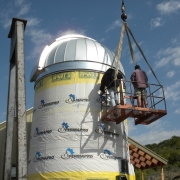
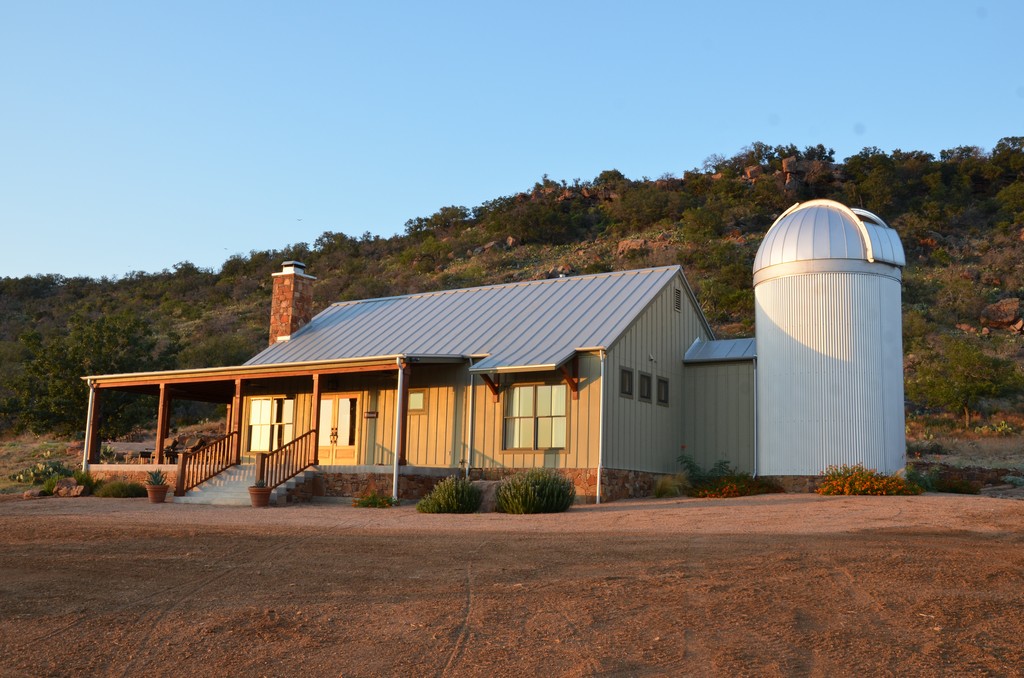
Dome Installation
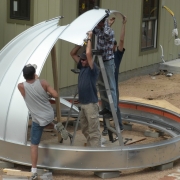
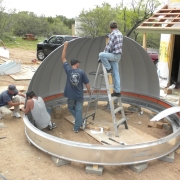
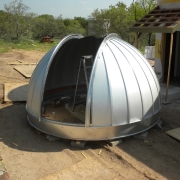
After the pier was installed, work began on the dome construction. The dome was delivered from Ash Manufacturing as separate components, and therefore, the dome structure was assembled as a complete unit on the ground and then lifted by crane to the top of the observatory structure. The dome was bolted into place on the top plate of the observatory structure.
Electrical and Grounding
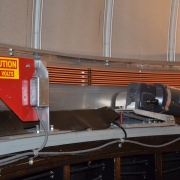
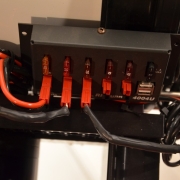
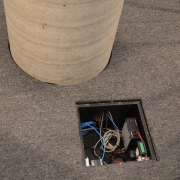
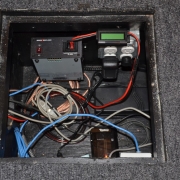
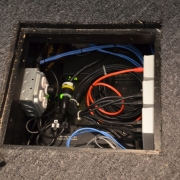
After the dome was installed, power was brought to the observatory and a 40 amp panel was installed to provide ample power. Grounding lugs were installed to ground the metal dome and structure to provide some protection from lightning. The dome is grounded to a metal framework buried in the ground. Electrical and signal lines were run through conduit in the observatory flooring to the telescope and control systems. Trap doors or hand holes were made in the flooring to provide easy access for routing cables.

Construction Complete
Construction finished
